How to Install Formica® HardStop® Decorative Protection Panels
Installation tips for durable, impact-resistant wall protection in healthcare, education and commercial spaces.
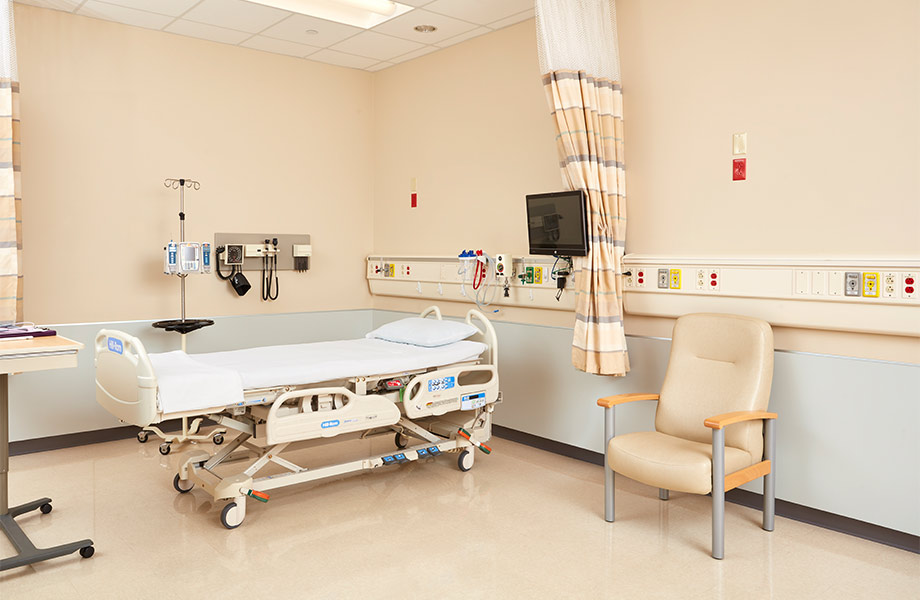
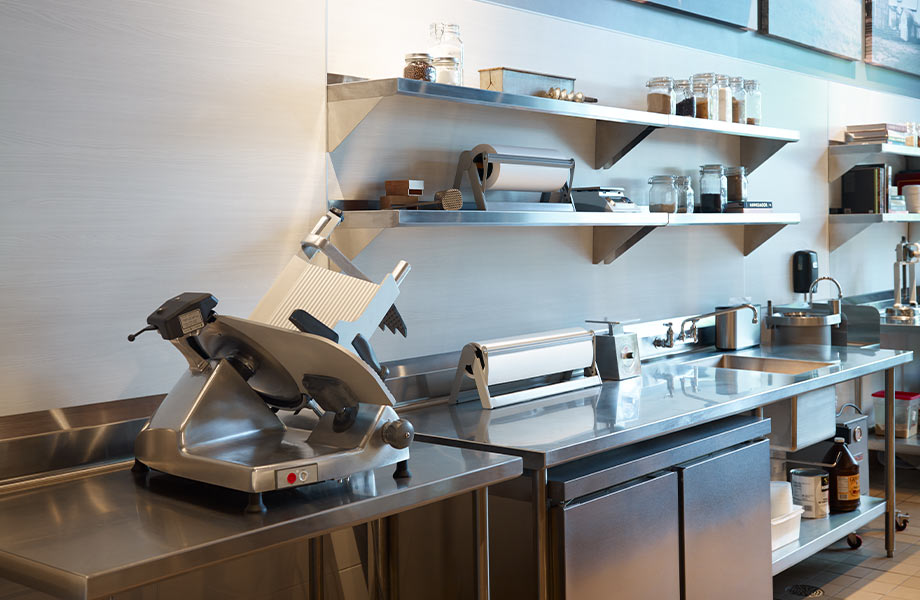
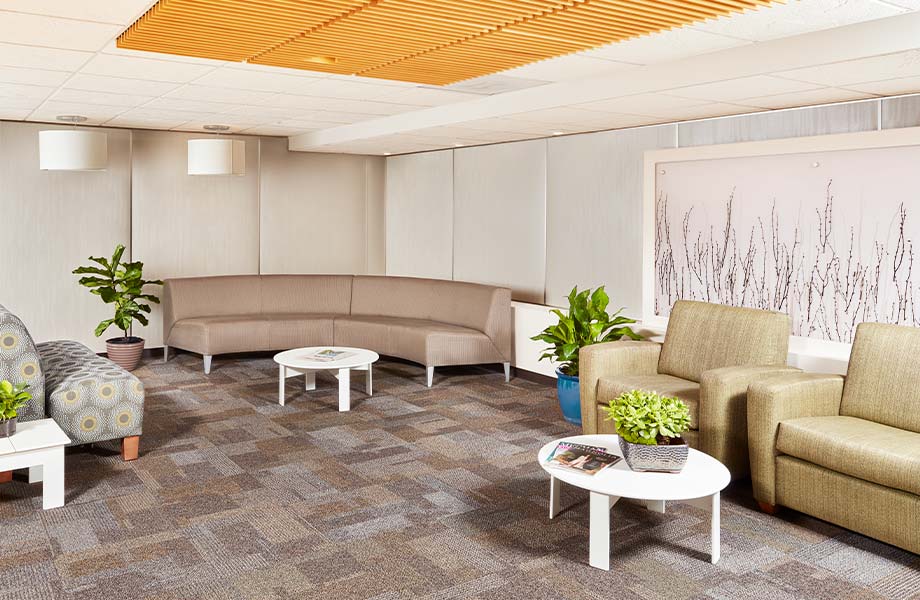
HardStop® Decorative Protection Panels are designed for fire safety, cleanability and durability in high-traffic environments. Unique across the industry, the protective properties of HardStop® provide unmatched fire protection along with other benefits including resistance to impact and scratches. The panels are available in a wide variety of Formica® Brand decors and within industry-leading timeframes. Proper installation is critical to ensure long-term performance and appearance.
**Always refer to the official HardStop® Panels Technical Guide for full specifications and safety requirements. More information on HardStop® Panels also is available in this video.****
When installing HardStop® Panels there is a Good/Better/Best approach:
GOOD: Read and closely follow the instructions in the Technical Guide.
BETTER: Use the Technical Guide AND watch this training video on YouTube. Ensure you are watching only official Formica Group North America training videos.
BEST: Review the guide, watch the video AND take part in a live, complimentary training session via Microsoft Teams provided by the Formica Corporation technical team (contact your rep to schedule).
DISCLAIMER: The following is a high-level overview of the installation steps for HardStop® panels. This article is NOT a comprehensive how-to guide. HardStop® Panels are a unique product that requires specialized installation techniques. Installers and fabricators should default to the product guides and training available through Formica Corporation before beginning an installation.
Step 1: Prepare the Panels and Space
- Inspect all panels for damage before installation.
- Acclimate panels and adhesive in the installation area at 70 ± 5°F (18–24°C) and 35–50% relative humidity for at least 72 hours.
- NOTE: The permanent HVAC system must be fully operational and all automatic temperature and/or humidity adjustments must be turned off during the entirety of the acclimation, installation and curing process for the panels and adhesives.
- Store panels flat, off the ground and fully supported from edge to edge.
- Ensure white standard drywall – which is the only approved substrate for HardStop® Panels – is flat, clean, dry, and free of dust or debris. Sand painted or primed surfaces to expose clean drywall.
- Plan your layout using a center line to achieve a balanced look. Do not align panel joints over substrate joints.
Step 2: Cut Panels Correctly
- Use sharp blades and bits to prevent chipping or cracking.
- Fully support panels during cutting.
- Do NOT use a jigsaw, scroll saw or drill. All holes must be bored with a trim router with a plunge router bit. Create oversized holes and switch to a ½ inch ball bearing guided router bit to complete cuts. This will result in smooth radius corners – square corners will cause cracking.
- Use a track saw, circular saw, or router to cut the panel to fit. NOTE: Inside corners should ONLY be made with a router.
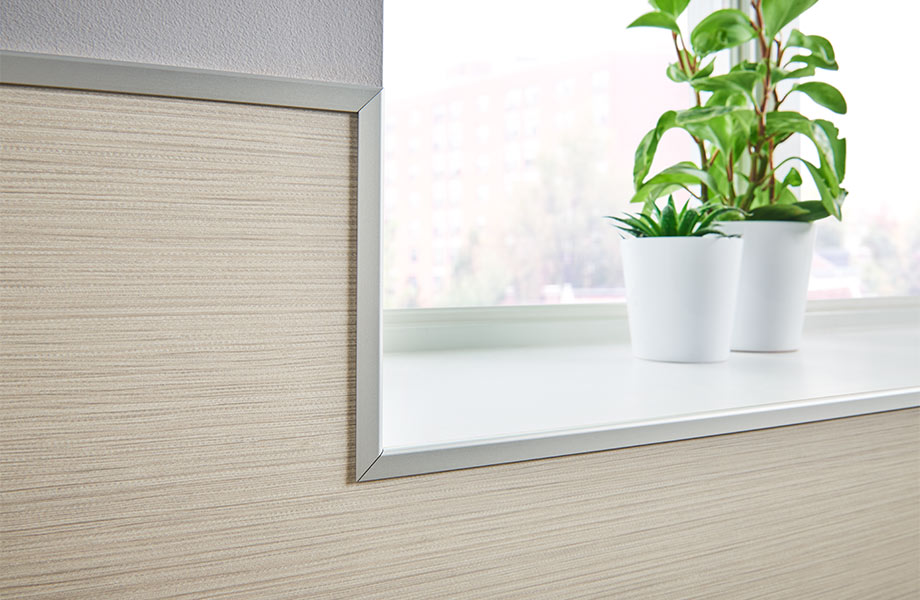
Step 3: Install Trim Moldings (If Required)
- Install starting trim pieces, such as corner trims or end caps.
- Insert panels into trim, leaving a ⅛" gap between the panel and the molding.
- Install divider bars between panels as needed, maintaining the same ⅛" gap.

Step 4: Clean and Apply Adhesive
The Formica Corporation technical team conducted extensive testing on dozens of options and recommends the following for installation.
Preferred Adhesive: GE Supreme Silicone Clear (Kitchen & Bath or Window & Door):
- Clean the back of the panel so it is dry and free of dust, oil, or debris.
- Apply a ³⁄₁₆" bead in the recommended pattern, including within 1" of all corners and cutouts.
- A 4' x 8' panel typically requires two 10 oz tubes.
- Apply the panel within 12 minutes of starting adhesive application.
- Full illustrated guide is available HERE.
Step 5: Apply the Panel to the Wall
- A minimum of two people are required for installation.
- Do not use nails. Use screws only as temporary support if needed. Any holes must be oversized and bored only with a trim router and plunge router bit.
- Shims may be used to support the bottom of the panel.
- Leave a ⅛" gap between panels if trim is not used.
- Press the panel evenly against the wall to avoid air pockets or stress.
- Roll the entire panel with a 9" wide J-roller using medium pressure.
- If using a cove base, install two temporary support screws through oversized holes near the bottom of the panel. Again, these holes must be bored only with a trim router and plunge router bit.
- Remove shims and temporary screws once adhesive is cured.
Step 6: Clean and Cut Openings
- Clean excess adhesive immediately with appropriate solvent while still wet.
- After 24 hours, cut openings for electrical boxes or fixtures using a router to maintain radiused corners.
- Use a trim router and a ¼ inch plunge router bit to make the initial hole, expanding the hole to approximately ¾ inches in diameter.
- Change the router bit to a ½ inch diameter flush trim router bit and adjust the depth of the cut to allow the ball bearing guide to trace the inside edge of the item to cut only the drywall (if necessary) and the HardStop® panel.
- For plunge cuts requiring trim around screw receptacles (i.e. an outlet box) trim off the excess bis with ¼ inch plunge router bit with the depth set to the thickness of the HardStop® Panels. This will result in a clean straight cut.
Step 7: Fill Seams and Finish
- If no trim is used, fill panel seams with color-matched 100% silicone caulk. Color Rite Inc offers color-matched caulks for HardStop® Panel products: Color Rite – Colorrite
- After adhesive cures (minimum 24 hours), remove temporary support screws.
- Install cove base as required.
Final Tip
With proper installation, HardStop® Decorative Protection Panels offer style and performance second to none. Always consult the official Formica Group Technical Guides for complete installation requirements, safety guidelines and product performance specifications.
Contact your sales or distribution representative to schedule a free HardStop® Panels installation training call. This training is approximately one hour and is well worth your time.
Together we will ensure a final project that we can all be proud of!


